Gestionar las cookies que se utilizan con fines publicitarios, como la personalización de anuncios, el remarketing y el análisis del rendimiento de los anuncios.
4.3.1.3.1. Set up filters in WebMail.Online
Important points:
- The order of the filters in the group matters and can be changed.
- By default, filters are only applied to new incoming messages and do not affect existing messages. To apply them to existing messages, use the special button ⚡️.
- The "Bounce with message" action cannot be performed simultaneously with other delivery actions (moving to a folder, forwarding, etc.). To avoid errors, add the "Finish executing" action at the end of chains containing such rules.
Filters allow you to automate mail processing and specify actions to be performed under certain conditions. For example, you can have messages from specific senders or with specific text in the subject or body automatically forwarded to another mailbox, moved to a specific folder, or deleted.
Create filter
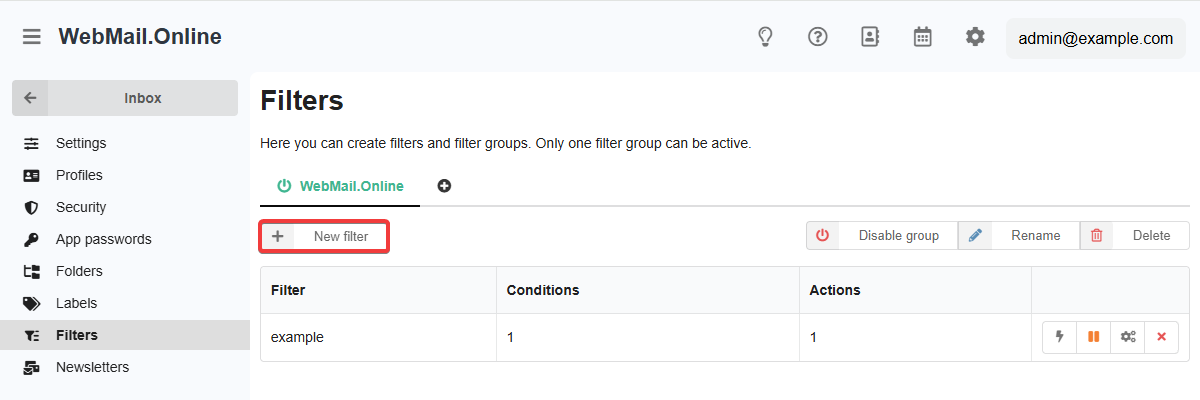
- Open the WebMail.Online settings and go to the "Filters" section.
- On the tab with the desired filter group, click "Create filter":
- Specify the name of the filter, the conditions for its triggering, and the actions to be performed when the conditions are triggered:
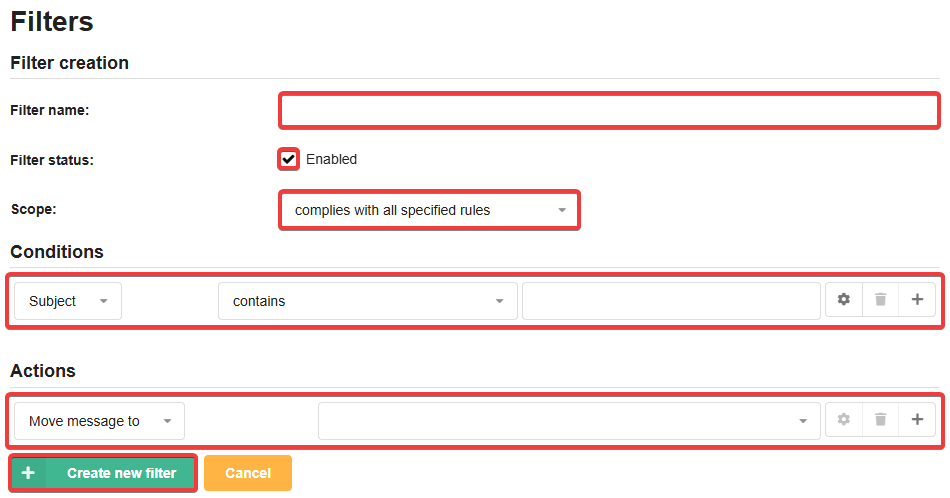
- Save your changes and check the filter's operation by reproducing the conditions under which it should work.
Manage filters
Control buttons are displayed in the row with each filter:
- ⚡️ — apply the filter to existing messages. ⚠️ Does not work for filters that include email sending actions.
- ▶️/⏸️ — enable/disable filter.
- ↕️ — change filter order within a group.
- ✏️ — change filter settings.
- ❌ — delete filter.
(2)